How to Convert a Garage Into an Apartment

Have you noticed that while families grow and change, houses do not? Maybe a newborn has joined the family, or your children have turned into teenagers and need separate bedrooms; or maybe you have an aging parent who needs special care. Whatever the reason, changes in life and family happen more easily than changes in the limited space inside the four walls of our houses. If you find yourself in such a situation, here’s how to convert a garage into an apartment!
Table of Contents
- Options for Limited Space
- Buying a Bigger Home
- Having a Custom Home Built
- Converting a Garage Into a Living Space
- How to Convert a Garage Into An Apartment – DIY Method
- Where to Begin?
- 5 Stages for a Garage to Apartment Conversion
Options for Limited Space
Buying a Bigger Home
Hitting the pavement with a realtor and going in search of a larger house just might make sense, depending on the housing market in your region The housing market in my part of the country, as an example, makes selling your home look attractive, but buying very unattractive. Three years ago, I sold a rental house for just under $200,000. Today that same house is listed for $325,000. Your house may also have appreciated significantly in value. But as you consider selling and buying up, expect that same increase in value to be proportionately reflected in the bigger better house you want to buy.
Ultimately, it’s important to weight out the options and make a decision that’s right for you and your family. While buying a bigger house may make the most sense for your family circumstances, examining the various ways to add more living space may help you make an informed decision—and save time, money, and headache later on.
Having a Custom Home Built
Wouldn’t having a contractor build you a new house be the best solution? That dream kitchen? The roomier closets? The luxurious master bath? For some families, it may very well be the best option. If cost is a consideration, however, you might want to weigh in the fact that, according to Construction Analytics, the cost of lumber alone is up three times what it was in March of 2020. That means that a $20 sheet of plywood now costs $60. Bear in mind that a bigger and better house will be made of hundreds of sheets of plywood!
I asked a contractor in my region what it would cost to build a typical 3,000 square foot house with plenty of bigger bedrooms and bathrooms. Taking the many variables of design and features into account, he estimated $350,000—building site and prep not included! While building a custom home may make the most sense for your specific situation, there are also other options to be aware of in considering how to add more livable space.
Converting a Garage Into a Living Space
About this time, you may be looking around at your existing house and wondering if you should consider remodeling. What about converting that seldom-used garage or carport into a master suite or apartment?
I asked the same contractor what it would cost to convert a 12 x 24 carport into a comfortable master suite. Depending on fixtures in the bath and other design features, he estimated it would cost $50,000. That’s considerably less than building a whole new house or buying a bigger existing one, but it’s still a significant amount of money, especially with the added expenses sure to come with an expanding family. Nevertheless, hiring a good contractor to handle the remodel may be the best option for you and your family.

How to Convert a Garage Into An Apartment – DIY Method
Let’s be realistic. Doing it yourself is not for every undertaking. Brain surgery springs to mind. Nor is doing it yourself for every individual and family. But what about when it comes time to convert a garage into an apartment? You know your house and your family’s needs better than anyone. Besides, it’s not rocket science, and it just may be that you already have or can easily acquire the basic skills needed to do it yourself—for a fraction of the cost.
Where to Begin?
You can begin right here! The New Build House is designed to guide the homeowner builder through the process. I did it, and I’m no pro builder. Let me walk you through the DIY steps I used to convert a garage into an apartment—or more specifically, to convert a carport into a master suite.
When my wife’s aging father could no longer negotiate the basement stairs to and from his bedroom, we did a bedroom shuffle. Her father would move to our daughter’s main-floor bedroom, and our daughter would move—into our bedroom. Meanwhile, I was eyeing the semi-detached carport area on the west wing of the house. I decided to convert this area into livable space that was perfect for our family! Here is how to convert a garage into an apartment—or a carport into a master suite or other livable space.
5 Stages for a Garage to Apartment Conversion
1. Planning
More technologically savvy DIY-ers will likely use computer generated design programs. I’m old-school and prefer paper and pencil—and lots of scribbling and sketching. Either way, planning is important and can save you time and money correcting for unforeseen but inevitable obstacles later on.
Considerations When Planning
Doors: Where will they be and what size? [Click here for how-to instruction on framing doors and windows]
Windows: How many? Where to place them? And what size?
Hallways: How wide? It’s a good idea to plan for the future and make hallways and bathroom doors wheelchair accessible.
Closets: A bedroom won’t count as a bedroom for resale unless it has a built-in closet. So, however quaint grandma’s antique armoire is, still plan to frame in a closet.
Space-saving tip: Use pocket doors or sliding barn doors for closet and bathroom entrance, thus avoiding the dead space taken up by the swinging of a hinged door.
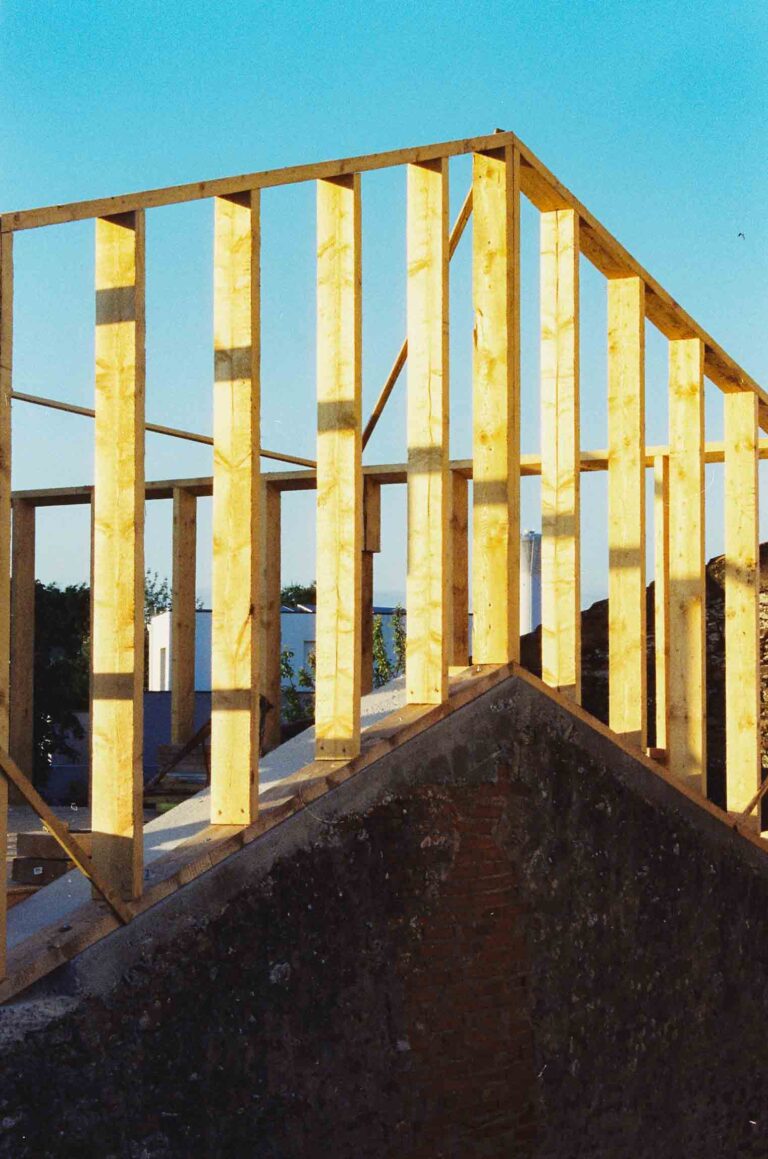
2. Framing Walls and Floor
When you convert a garage into an apartment or master suite, you will have the advantage of already having exterior walls in place, which saves both time and material costs. When converting a carport, however, usually you will only have a roof, but this gives you more choices on where you will frame windows and exterior door(s).
Framing the walls: Most building codes will require exterior walls to be framed with 2 x 6 studs; this is largely for energy efficiency as more insulation can be installed in a 2 x 6 wall than in a 2 x 4 wall. Frame interior walls with 2 x 4 studs.
In a carport, the ceiling rafters will likely be spaced on 24” centers.
What about the concrete floor? A concrete floor in a master bedroom, carpeted or not, will be cold on the toes. And, by definition, a master suite or apartment has a comfortable bathroom. Which means plumbing. But it’s impossible to run plumbing in an existing concrete floor—not without a good deal of back-breaking work with a jackhammer.
Recommendation: While concrete makes a strong and durable floor, for the sake of long-term comfort for the toes, consider raising the floor by framing a wood floor over the concrete. If you’re just converting the space into a bedroom with no bath, you can use smaller dimension lumber like 2 x 4s, which will still give you some space under the floor for insulation.
I went the whole hog and used 2 x 10s stood on edge to create a wood floor over the existing concrete. I then filled the space between the new floor joists with R-38 insulation, thereby creating a warm floor for my wife’s bare toes—and I had plenty of space now to run new wiring as well as plumbing, both water supply lines and drain pipe. All without using a jackhammer. Two problems solved with one solution.
After running wiring for plenty of outlets in the stud walls, I sheeted the wood-framed underfloor with ¾ tongue and groove OSB (oriented strand board).

3. Wiring and Plumbing
These are the parts of the project that may seem daunting.
Electrical: The basics of rough-in wiring for a residential remodel are not complicated, and in many counties and municipalities, homeowners can apply for an electrical permit and do their own work, subject to electrical inspection by the building department.
Plumbing: The basics of rough-in plumbing are even simpler than wiring. You will need to find the nearest water source within in your existing house. To avoid tearing out finished wallboard in your house, route the water supply pipe into the stud walls of the new space.
4. Finishing Walls and Ceilings
Insulations: Once you have tested your plumbing to make sure there are no leaks, it’s time to insulate. You’ll need a utility knife and staple gun.
Walls and ceiling: Gypsum wallboard—often called by the product name Sheetrock—is one of the least expensive ways to finish walls and ceilings. After hanging the wallboard with nails or screws (check local codes), use tape and premixed joint compound to cover all the joints between the sheets of wallboard. You will need a medium-width puddy knife and rectangular mud pan. Rent a hopper to spray texture the walls and ceilings. Prime and paint.
Consider adding warmth to the room by installing pine or cedar tongue-and-groove planks on the ceiling. If you pre stain or varnish before installing, your work is finished.

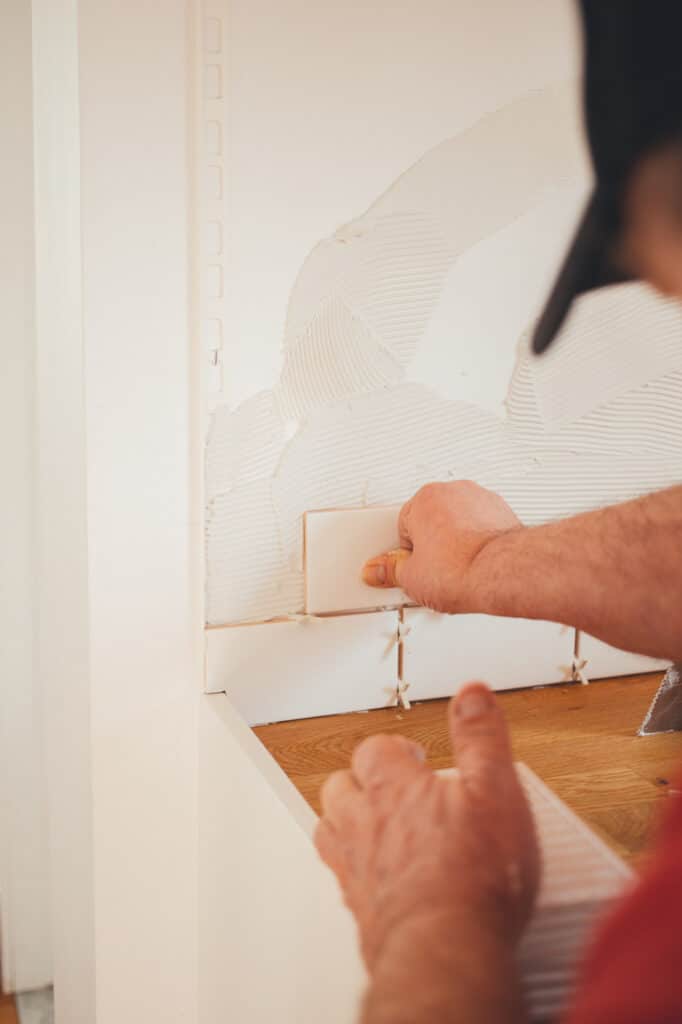
5. Final Finish Work
Once your walls are painted, it is time to begin the final finish work in order to convert a garage into an apartment. Let’s begin with flooring.
Flooring: If you’re not matching existing flooring, consider using click vinyl plank flooring, one of the best inventions for the do-it-yourselfer in recent decades. No special tools or skills are needed to install this durable, waterproof, and affordable product. It comes in a variety of colors and wood-look textures, and is readily available at the big-box home-improvement stores. Another huge bonus—it installs quickly. I laid down the floor in the whole master suite in less than a day.
Doors: Pre-hung doors will cost a bit more but are well worth the indulgence. Use a plumb level and tapered shims to get the door and jamb perfectly plumb, level, and square in the opening. Trim the door frames with pre-primed finish grade 1 x 4s (if your trim will be painted) or with pre-stained and varnished trim boards.
Baseboard: After the floor is laid, and the doors are installed, finish the joint where the walls meet the floor with baseboard. I installed pre-primed 1 x 4 with a finish nail gun, then filled the nail heads and caulked any visible gaps between the baseboard and the wall. Mask the new floor, then paint the baseboard with interior semi-gloss paint.
Windows: Install vinyl insulated windows in pre-framed openings from the exterior of the apartment or master suite before installing the exterior siding. Trim out the inside of windows by installing the window sill first, then trim the rough area where the framing studs meet the edge of the vinyl window. Before installing the trim, apply silicon caulking where the inside edge of the vinyl window frame meets the stud. Finish by installing face trim above and on the sides of each window.
Plumbing fixtures: To install the new toilet, simply follow the diagrams and easy instructions that come with the toilet. The tub and shower can be installed as a single pre-formed unit, the easiest and least expensive installation.
Electrical finish work: Before you begin, buy a non-contact voltage tester; it will cost about $10.00 and will ensure your safety and confidence as you work. Turn off the breakers supplying electricity to your new living space. After testing the wires to confirm that the electrical current is off, strip the ends of white and black wires and use wire nuts to connect the power supply wires to the fixture.
Conclusion
Total cost to convert a garage into an apartment (DIY method)? I spent $9,000. But I added over $80,000 in value to my house. Follow these guidelines, and you may be able to do the same.
Enjoy your new living space!